Mixing Lessons
Written By Jeremy Chua
What is Reverb?
Reverb is the musical term we use to describe reflections that occur naturally in a space. When a sound is produced in a space, sound waves travel in all directions until they reflect off a surface and then the next; these reflections continue to occur at diminishing amplitudes as energy is absorbed by the wall or thing it’s reflecting off. Eventually, the reflections completely die-off/ decay.
5 Creative Reverb Tips
Learning how to purposefully and creatively process your reverbs can tremendously impact the sonic landscape of your mix. Reverbs are arguably the best tool for affecting the perception of depth; but they can also quickly muddy things.
Over the course of my mix career, I have tried and taken many techniques in and out of my reverb bus templates. Here are 5 that never leave them.
Tip #1: Compress your reverbs
There are 2 main reasons I compress my reverbs – to add sonic interest and to make space for other elements.

Firstly, some compressors are known for their ability to “colour” a sound and can be used almost like a harmonic exciter. I’m personally a fan of beginning my reverb bus chain with the notorious LA-2A. While the LA-2A is technically an Optical (Opto) leveling amp, it has tubes in its construction that drive a sound and adds a certain warmth. I find it useful in bringing out the upper harmonics of a reverb signal.

The second reason I’d compress my reverbs is to make space for other elements like a vocal. Here’s the trick – sidechain the compressor to the vocal track. By doing this, you’ll ensure the reverb is not overwhelming the dry vocal signal but still allow for a nice long tail to follow. You’d want to use a compression that is relatively fast; I personally enjoy using the stock Logic Compressor on a predictable VCA emulation.
Tip #2: EQ your reverbs
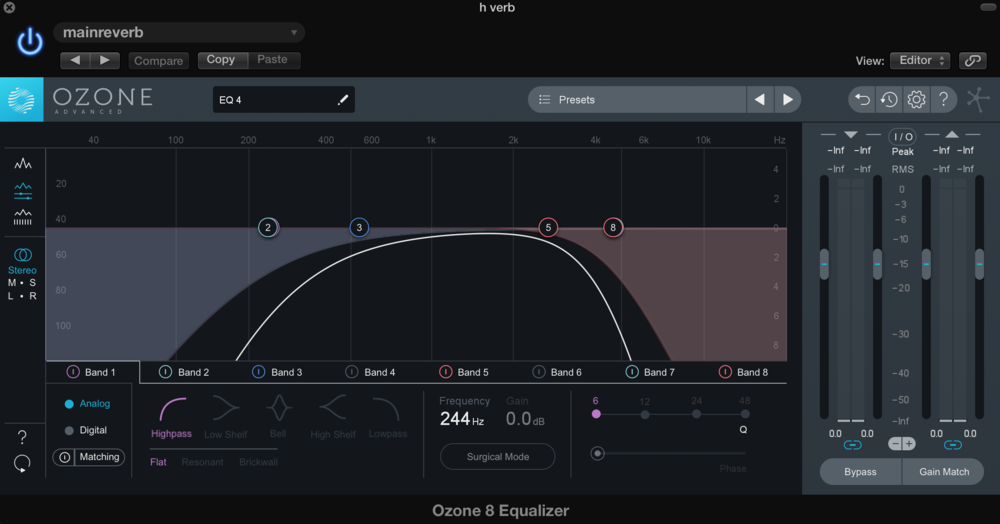
This is essential for dealing with the mud that reverbs can introduce! If not for the fact that I am organising my tips according to how they appear on my reverb bus, this would be tip #1. In short, reverbs get problematic fast in the lower frequencies, and sometimes higher up too. Chuck a LPF and HPF on your reverbs and hear what they do. Sometimes, I find myself putting multiple EQ cuts on a single reverb.
Tip #3: Apply stereo widening to your reverbs
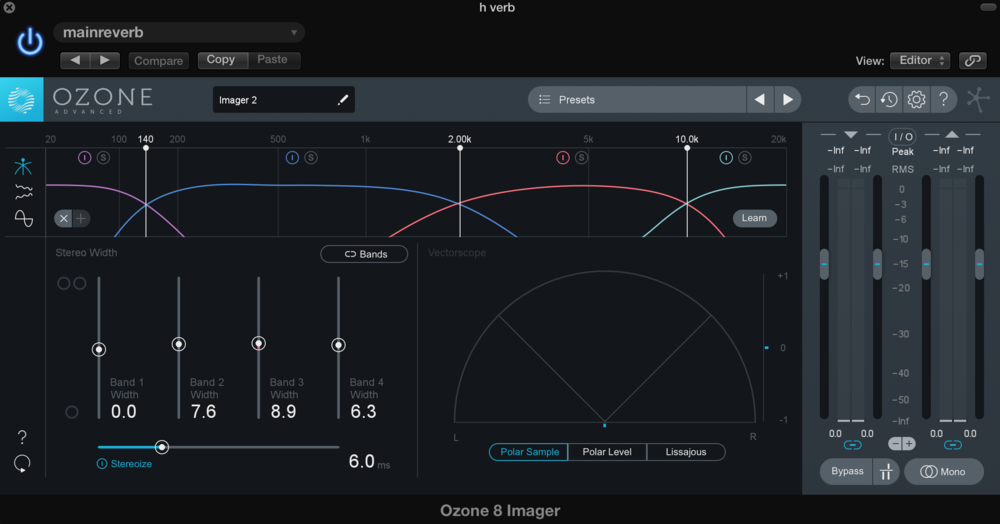
A simple effective technique that works for me, but certainly not something that every mix calls for. Stereo widening plug-ins can quickly help a reverb find its own space by pushing it away from the center (where more important elements might sit). There are many types of stereo widening plug-ins that might work in different ways. Personally, I use iZotope’s Ozone Imager as the final thing in my reverb bus chain.
Tip #4: Pan your reverbs

This is a little trick I picked up from watching Marc Daniel Nelson break down his mix session for Colbie Caillat’s “Goldmine”, and something I now turn to on occasion when I feel a sound calls for this. The idea is to have a dedicated reverb send (usually something with a short tail like a spring or plate) for an element in the mix (like a guitar part) and pan each to opposite sides. The dry guitar signal will sound closer on one side and its short reverb tail will be heard in the distant on the opposite side – this creates an interesting and effective sense of dimension.
Tip #5: Layer your reverbs
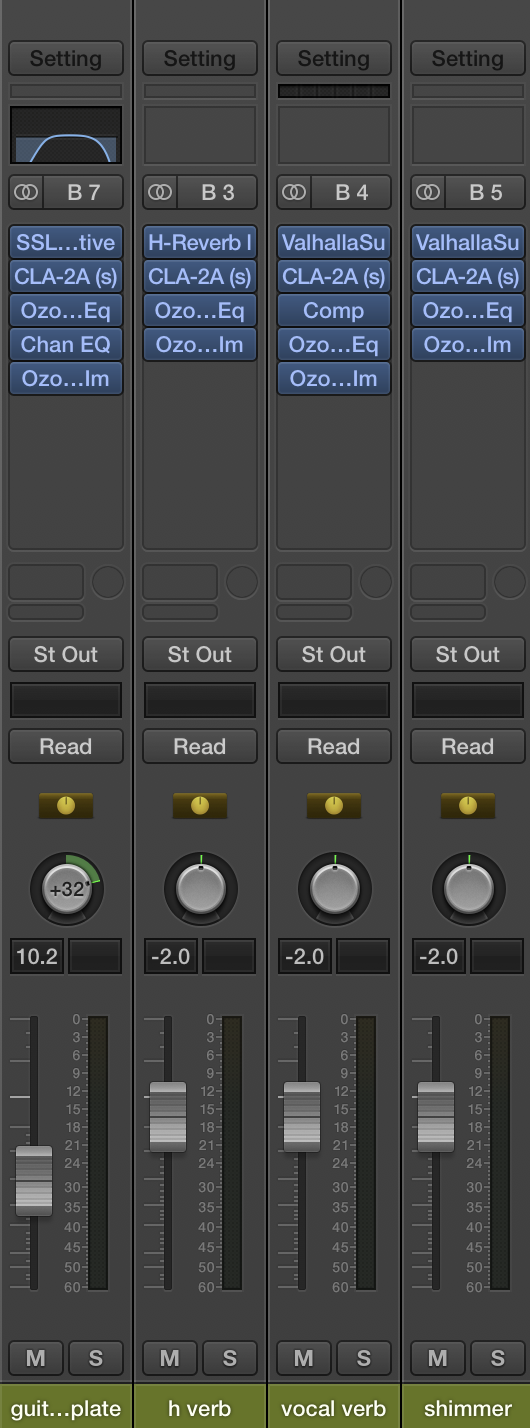
Finally, don’t be afraid to use multiple reverbs on a single sound to achieve different things. I find it more effective to have each reverb doing a subtle job. For example, I typically have a long hall reverb to create a sense of grandeur, a tighter plate reverb doing the heavier lifting, and then a digital reverb adding some shimmer and sparkle, on a single vocal chain.
Conclusion
Some of these ideas serve the purpose of reducing technical problems that might come from overusing reverbs, and some serve a more creative purpose – however, it’s important to acknowledge that there are really no rules here; so make some reverb decisions, and always serve the song!
Related posts

How to Get Your Music Noticed in 2024: Marketing, Promotion, and Studio Optimisation Tips
How to Get Your Music Noticed in 2024: Marketing, Promotion, and Studio Optimisation Tips In the competitive world of music, standing out in 2024 …

The Vinyl Revival: Melbourne’s Love Affair with Physical Media
The Vinyl Revival: Melbourne’s Love Affair with Physical Media In a world dominated by digital streaming, you might assume that physical media, particu …